How to teach with Bible photos on Sunday — make the land visible
Teaching with Bible photos helps the congregation see Capernaum, Jerusalem, and Paul’s cities — not invent them. A practical Sunday workflow with Bible Photo slides, verse text, and a clear call to join BibleSlides.
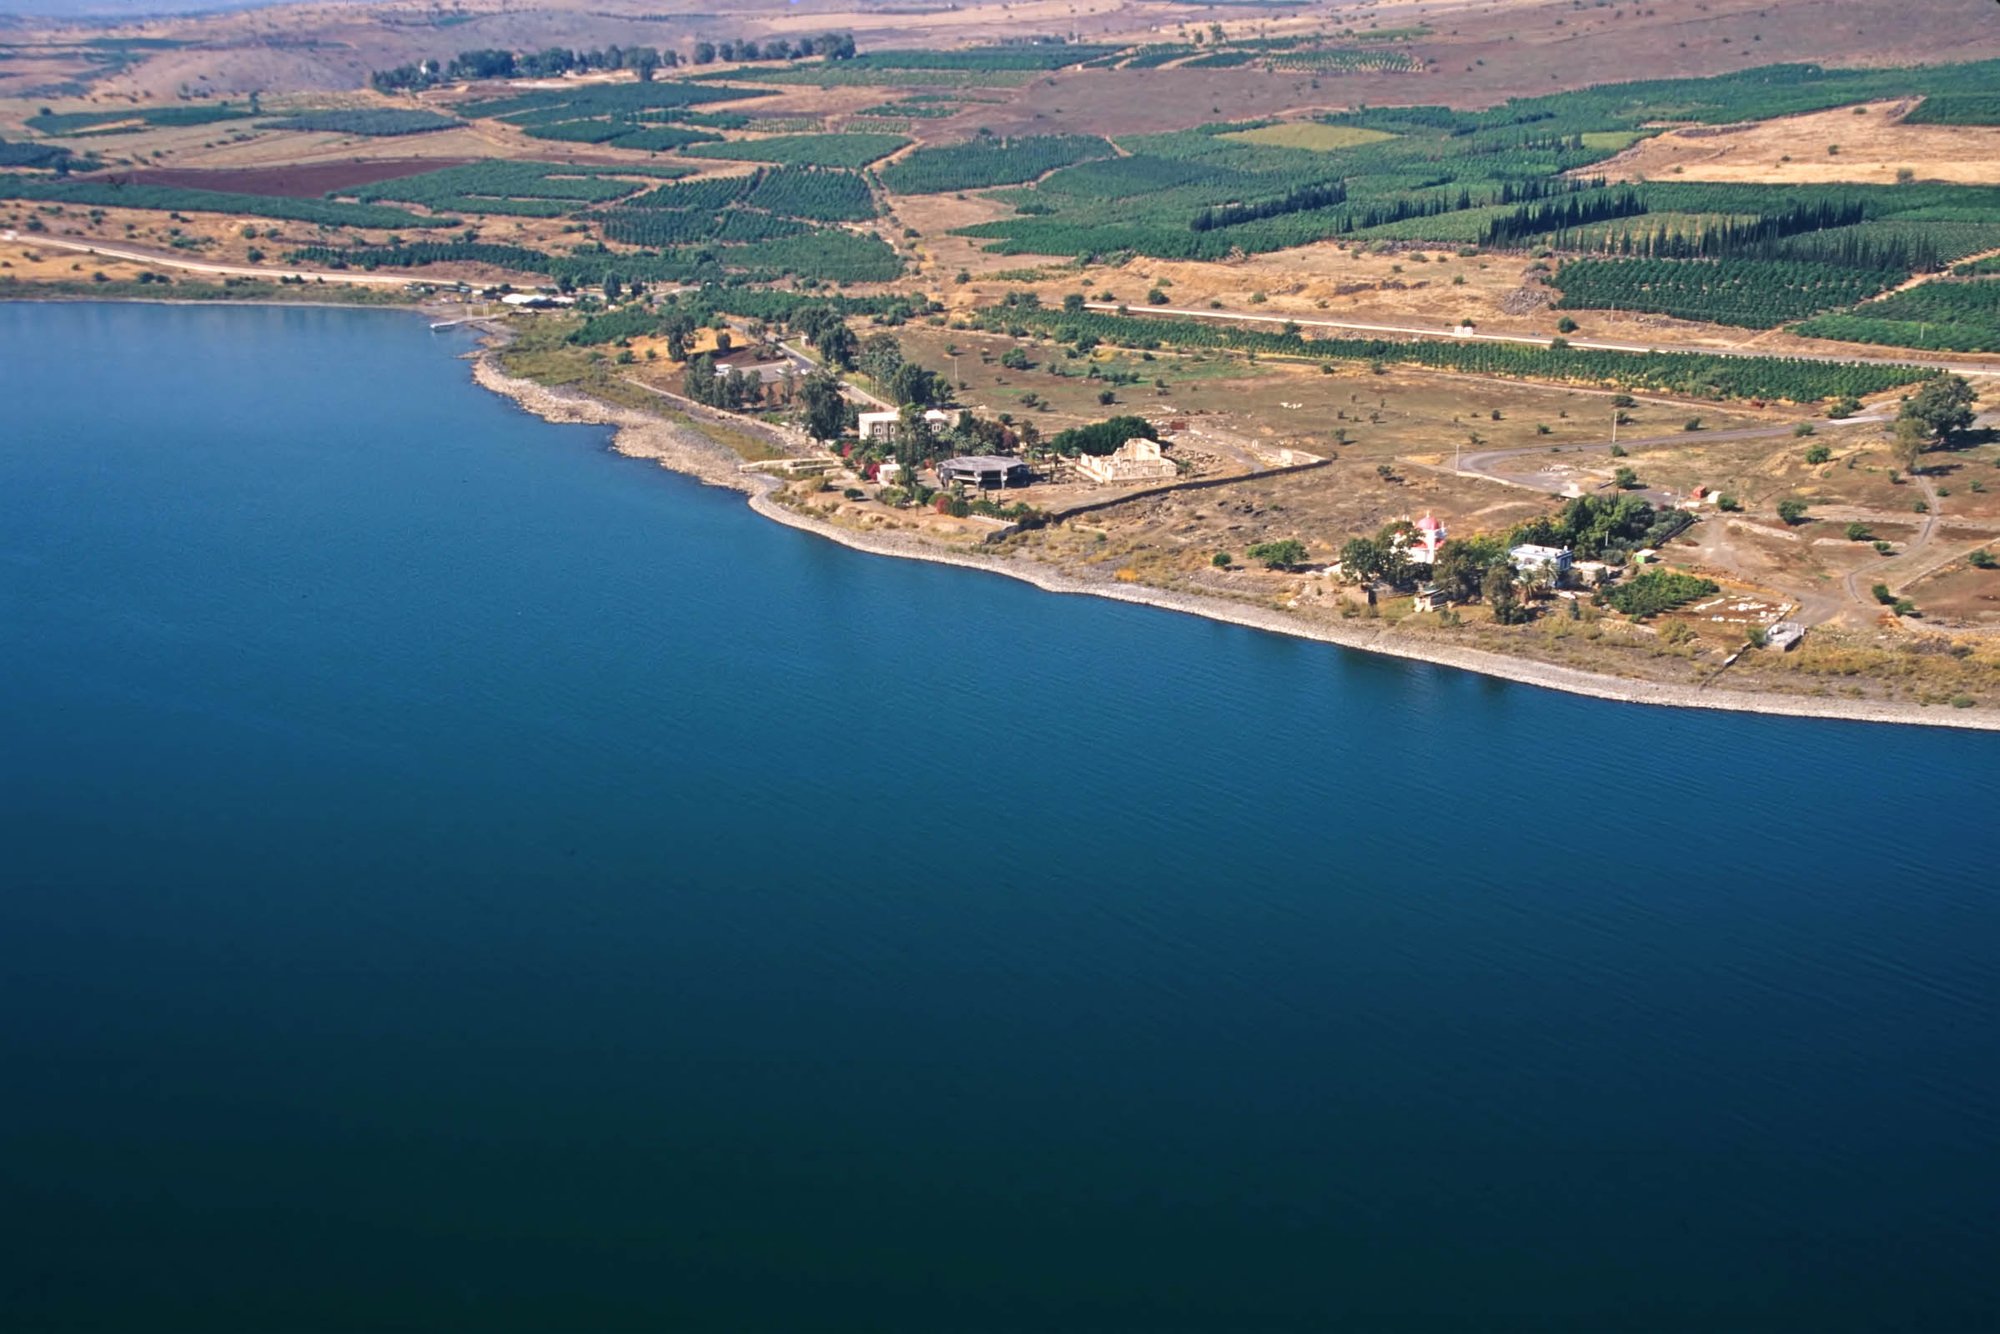
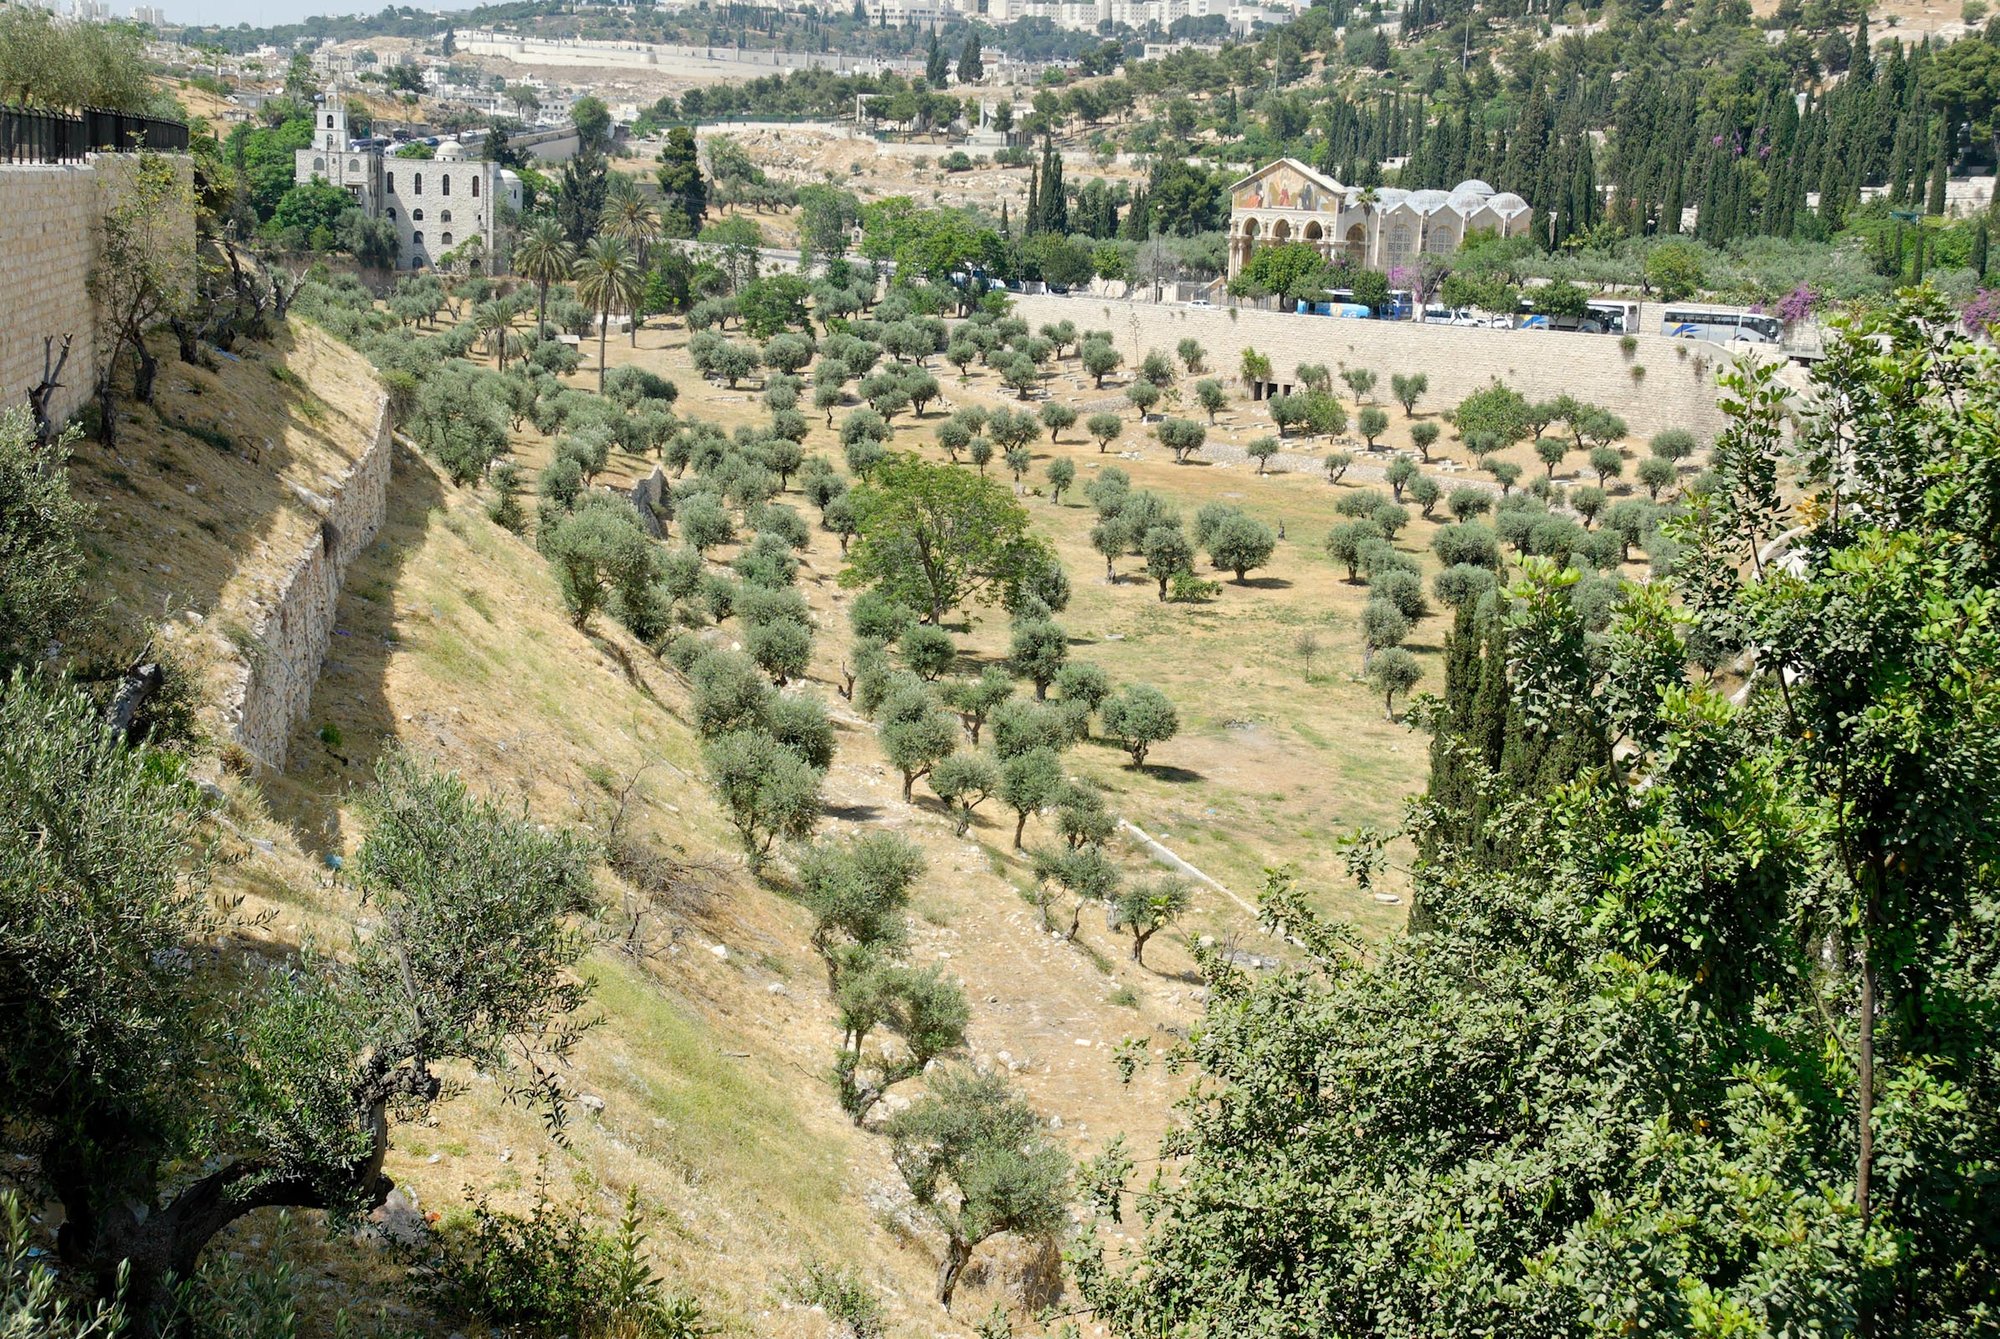
Most listeners have never stood on the Mount of Olives or walked a Galilean shoreline. When you teach narrative or geography-heavy passages, Bible photos do what adjectives can’t: they put a real place on the sanctuary screen so the story stops floating in midair.
One accurate photo at the right moment beats ten stock landscapes that could be anywhere.
What teaching with Bible photos actually does
| Without a place photo | With a Bible photo |
|---|---|
| “Jesus taught by the sea” stays abstract | The room sees a Galilee shoreline |
| “Up to Jerusalem” is a phrase | Hills and approach become visible |
| Paul’s shipwreck is a plot point | Coastline and harbor context land |
| Kids and new believers invent Disney Holy Land | Shared visual memory of a real site |
Photos don’t replace exposition. They remove false pictures so your words can do the theological work.
A simple Sunday pattern (5 minutes of prep)
- Pick the one place the sermon hinges on (not five)
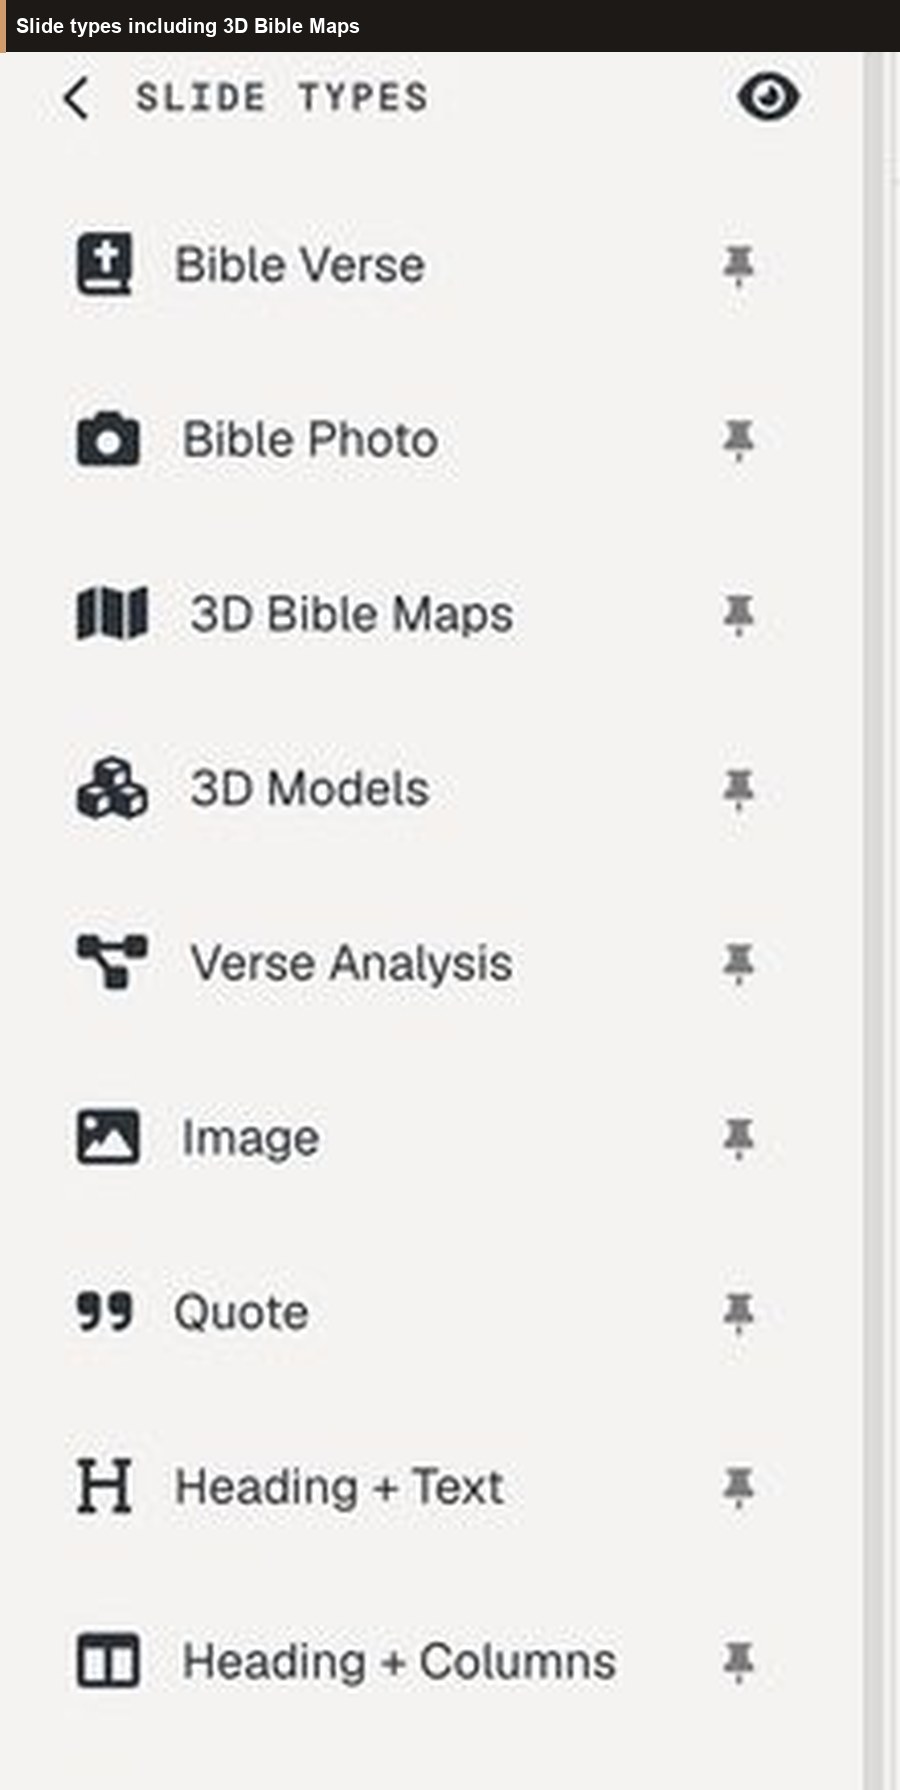
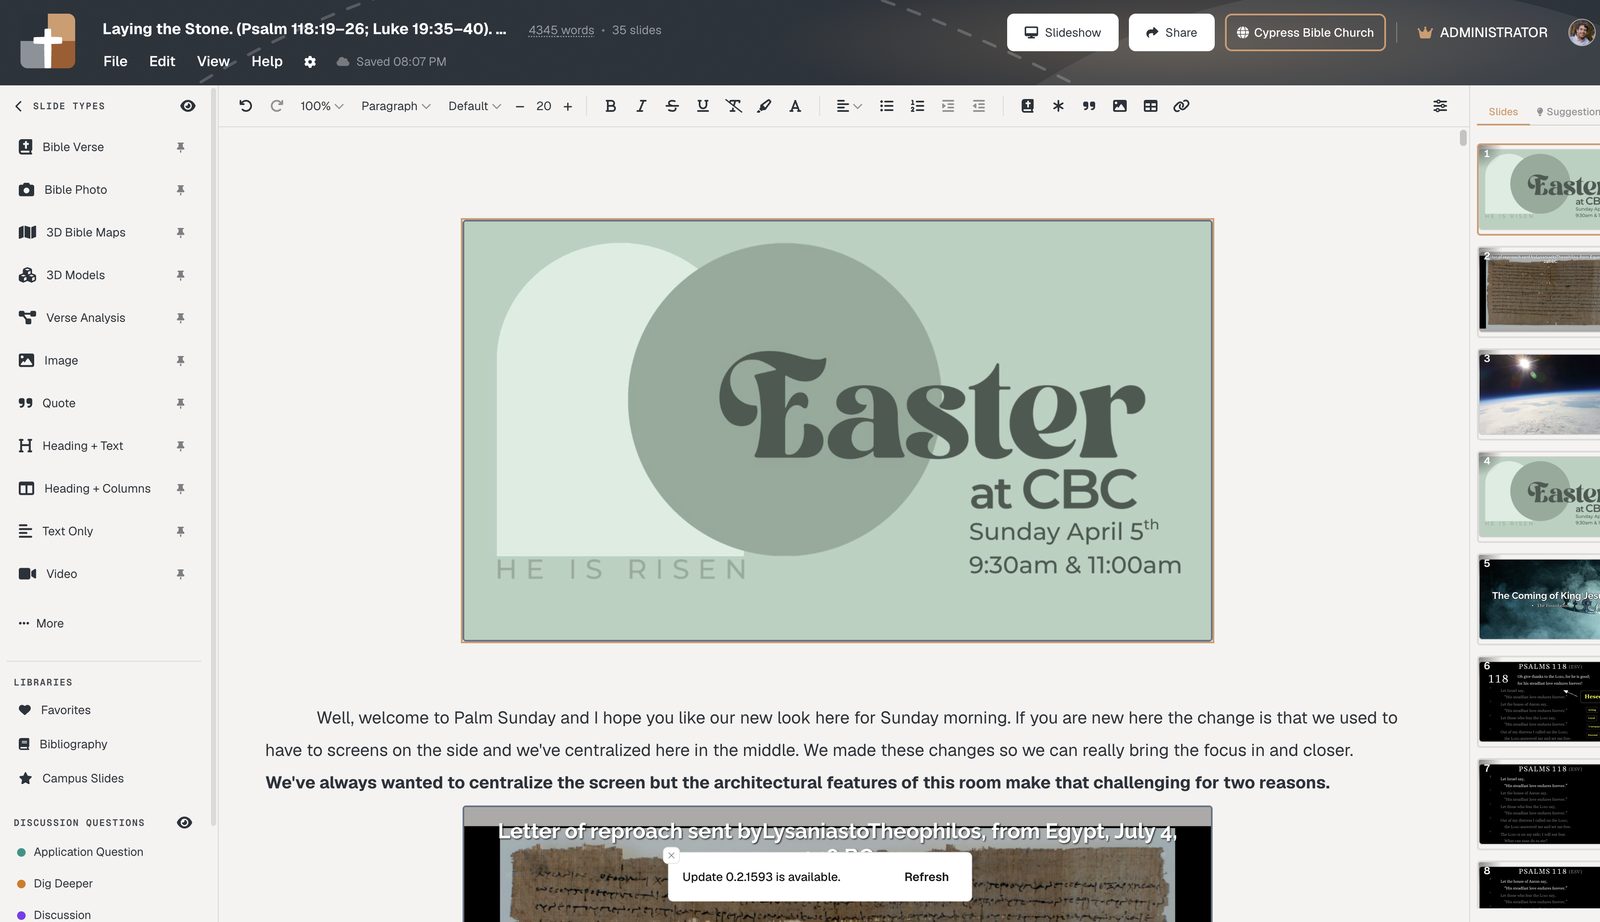
- Insert a Bible Photo slide — search the verse or the site name
- Place it after the verse slide where you’ll say “look at this”
- Write one preaching line under the photo: the sentence you’ll speak when you advance
- Rehearse once in practice mode so the reveal isn’t a surprise
In BibleSlides those photos come from the BiblePlaces.com partnership (60,000+ images on premium) — the same tradition of biblical-world photography teachers already trust — searchable inside the sermon document.
Tips that keep photos from becoming a slideshow vacation
- One hero image per point. Extra ruins dilute attention.
- Name what you’re showing. “This is the traditional area of Capernaum’s shoreline” beats silent scenery.
- Match photo to text. Don’t use Petra for a Galilee parable because it looks dramatic.
- Pair with Scripture on screen. Verse slide → photo → back to text or application.
- Use maps when motion matters. A still photo shows a place; a 3D journey map shows movement between places.
Who benefits most
- Expository preachers in narrative books (Gospels, Acts, Joshua–Kings)
- Teachers of new believers who lack Holy Land mental maps
- Small-group leaders projecting on a TV or Zoom
- Campus teams that want consistent, non-cheesy visuals across speakers
Join BibleSlides and teach with Bible photos this week
Stop hunting folders the night before. Build the verse slides and the place photos in one cloud project, present from laptop or tablet, and keep notes attached.
Join free at Projects → — create your account, start a deck, and try Bible Photo during your premium trial. When you’re ready for the full BiblePlaces archive in-product, upgrade and keep teaching.
Visit BiblePlaces.com to explore Todd Bolen’s Pictorial Library and Photo Companion collections; use BibleSlides when those photos need to land in Sunday’s sermon without a second workflow.
Related guides
More for church teams
Articles, templates, and guides for Bible teaching and presentation.
Back to Resources